Showing posts with label Baby Gifts. Show all posts

Friday, 30 August 2013

Summer 2013 Update: August

It's almost the end of August and we have just arrived back in Regina from our summer in Ontario - besides the Graceful Mandala and changing the name and logo for the shop, what have I been up to this month?

Jewelry

As mentioned in this post, I have been planning for a while now to expand the items in my shop beyond just crochet, to include wire and glass jewelry. So when I was packing for this trip I made sure to grab my wire jewelry tools and supplies. Unfortunately I forgot some of the supplies, so I was limited in what I could create during the trip. I made a few pairs of earrings, and a bracelet. I spent a couple of mornings taking nice photos of the new pieces, and posted the new Etsy items just before I changed my shop name.

Earth Tone Drop Earrings
Earth Tone Dangling Hoop Earrings
Northern Lights Bracelet
Split Prism Rainbow Drop Earrings
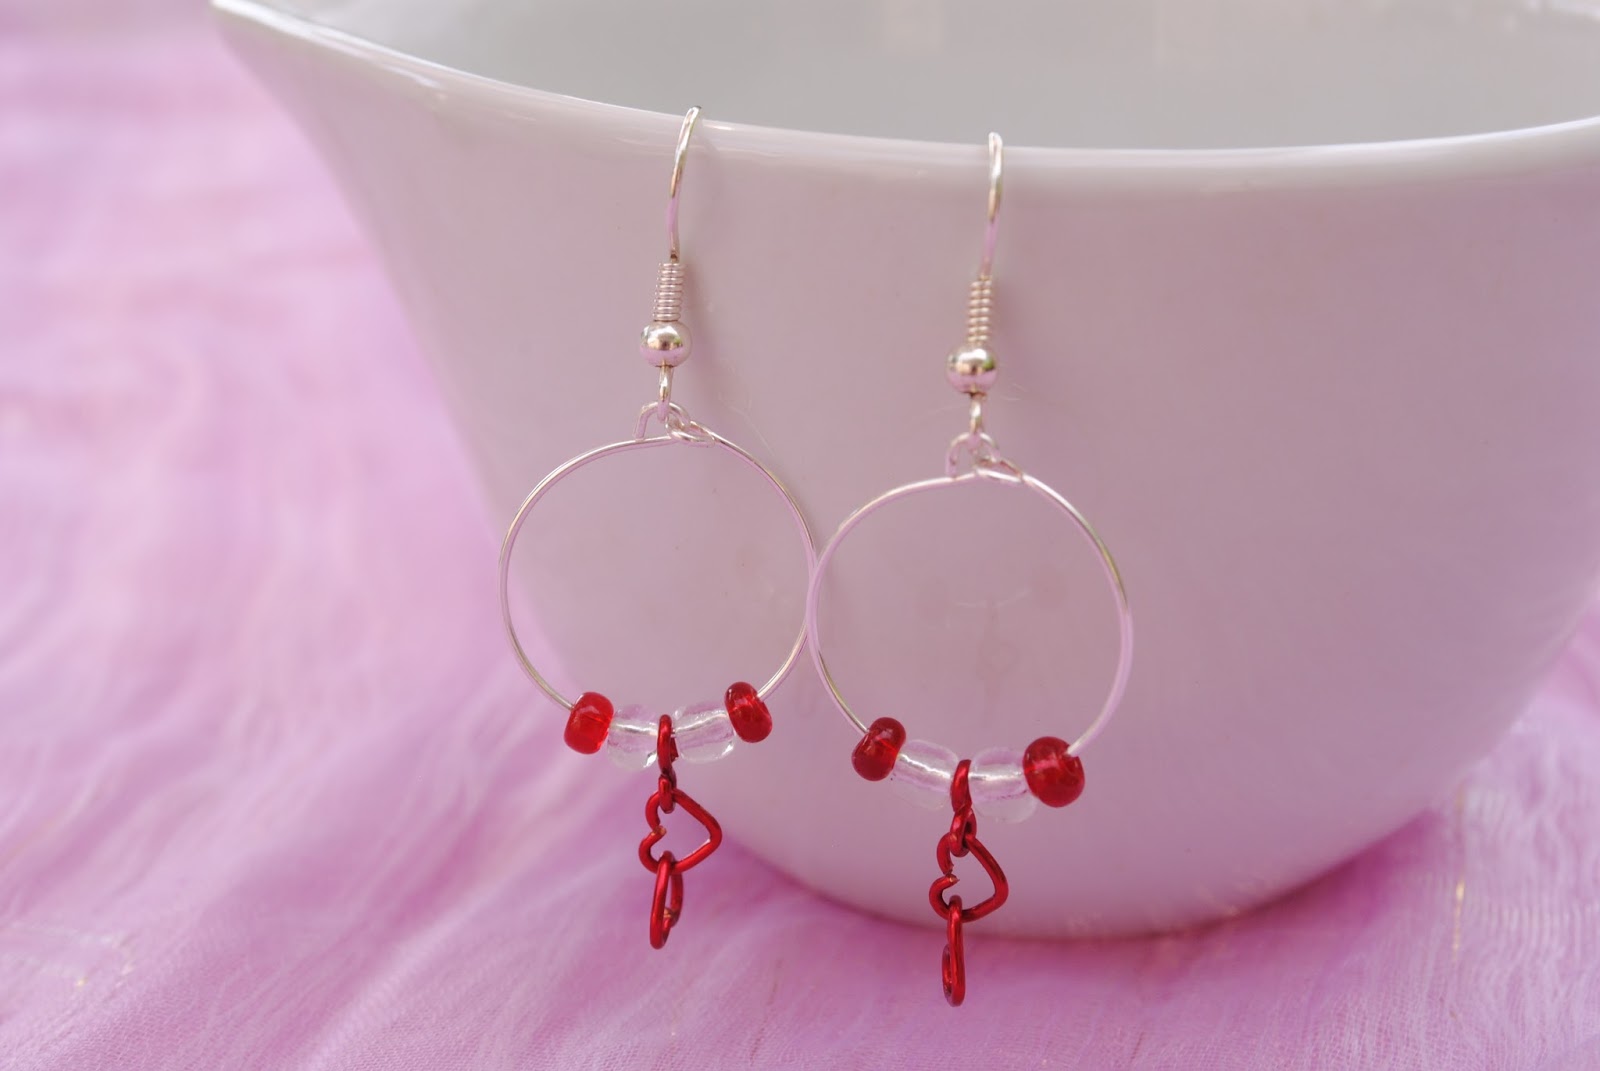
Sweetheart Drop Earrings
Sweetheart Dangling Hoop Earrings
Violet Orb Drop Earrings

The jewelry selection still feels pretty sparse and I will definitely want to add some more items now that I am back home, but it's a start for now. I'm also planning to order some coloured stainless steel wire (it's much stronger and more durable than copper), and I may also branch out into silver wire and semi-precious stones. I'm looking forward to working on this more over the next couple of weeks now that we're home in Regina.

Rainbow Converse Booties - A Pattern and a Colour Variation

This month I finally finished writing up my pattern for the Rainbow Converse booties. I was really impressed with Etsy's new instant download system for PDFs when I posted the Golf Club Covers earlier this summer, so I wanted to do the same for my converse booties pattern.

I've actually had the pattern mostly written up for a long time, but I knew there were several tricky parts where a picture would be much more helpful than a written description. So I wanted to include lots of pictures - after fighting with formatting in Word, I ended up with over 30 pictures embedded in the pattern. I also included a text-only version of the pattern for those who might want to print out just one or two pages, or display it on their phone or tablet. It sure took a long time (and quite a few fits of swearing) to get the formatting to work right, but I'm really happy with how it turned out.

Pattern available in my Esty Store now
I have also finally gotten around to making an inverted colour variant of these booties - with the red at the top instead of the bottom. This is usually the way I prefer to see and make rainbows, and I'm really not sure why I made the original booties the opposite way around. Here are the two versions (original on the right, new on the left) - I can't decided which I like better. What do you think? In any case, both versions are available in my shop!

These little guys still need their stars and laces...

Coffee Cup Cozies

At one point during this trip we stopped to get coffee at a local coffee shop, and I noticed that even when using one of those little cardboard bands around my cup, my London Fog (a delicious tea latte made with Earl Grey tea and vanilla, for those of you who haven't tried this magical beverage) was still almost too hot to hold. This got me thinking that a crocheted coffee cup cozy would be much more effective - plus it would be reusable, and stylish!

Later that day at the beach I started a prototype. I started with a chain that I joined into a circle, and did continuous rounds of single crochet (double crochet would have been too loose and wouldn't protect the hands as much I think...), adding a few increases every few rounds to make it slightly wider at the top. This first prototype was about the same height as those cardboard tubes in the store. Later when I went to make the second one, in a different colour, I decided to try making it taller so it would be more comfortable to hold. Here is the comparison of the first two versions:


I asked my Facebook fans about which they liked better and the consensus seemed to be the taller one (as I suspected), so I kept that size for the rest of the colours. I had to pick up a few more types of sock yarn to make a nice selection, plus, I knew I wouldn't have Len's Mill Store once we got back to Regina - I had to take advantage of their selection and prices while I could! Each colour is a slightly different weight and stretchy-ness of course so I had to keep checking each new colour against the finished ones, and testing it out on a trusty Tim's cup.

I also played around a little bit with an adjustable model of the coffee cup cosies, for use on mugs with handles and strangely sized mugs... I will probably come back to this idea later. For now I like this simple one-size-fits-all model. Here are the colour combinations I have made so far, all available in the shop:

All the colours
Blue Moon
Garden Flowers
Creamsicle 
Light Rainbow
Dark Rainbow
Purple Iris
Green with Envy

Square Blanket Progress

I have continued to work on the knitted square blanket from this post, though it's been out on the back burner during these other projects. I just finished the second piece - doesn't it look nice so far?.


Ah well, it's not for the shop or a gift, it's just for me, so I think it's fine to leave on the back burner for a while. I will probably be more motivated to work on it once it's a bit chillier. I'm sure the ladies at my Saturday stitch group will be happy to see me knitting for once (I'm in the minority as a crocheter) - plus they can help save me when I inevitably mess it up again!

Alpaca Birthday Sweater

Another project that I brought with me this summer is a lovely pattern made in amazing baby Alpaca yarn that my in-laws gave me for my birthday last year (that would be September 2012 for those keeping track). I didn't get a chance to start working on this sweater until Xmas time last year, and it has been a sort of in-between project: something that is easy to pick up at any time, and fits nicely in a small project bag so it's easy to keep with me, but it hasn't gotten any concentrated attention from me to this point.

It's been the same on this trip - I've worked on it from time to time, but I haven't focused on it at all. I put a stitch marker in at the start of this trip, and now, when we've just arrived home, you can see that I've certainly made some progress, but not a lot.

In my defence it is very fine yarn and a 3.00mm hook, all in single crochet, so it does take forever to do each round. I will need to get going on this soon though, if I want to wear it this winter! I promise a more thorough post about this project and pattern when it's closer to completion.


That's it for now, keep crafting!

Wednesday, 28 August 2013

Summer 2013 Update: July

(Note: this post was written at the end of July, I'm just late posting it...)

Recently I've been catching up on blog posts about projects from the last few months plus a couple of recent posts - but you may be wondering what I've been up to since the school year ended.

Well I sure haven't been idle on the crafting front! Here is a quick update on some of my recent projects, besides the knitting project that I've already posted about.

Once I finished the golf club covers for my Dad, I realized that I was running out of time before our summer road trip to Ontario, so I had to get organized about what to bring with me, and what to finish before I left. Here's some of what I've been working on (besides the knitted blanket which you've already heard about).


"Named in the Light of the Seven" - Bright Rainbow Blanket

Ever since I picked up the bright rainbow yarn in December, I have been wanting to make a bright rainbow baby blanket. So once I was done the massive wedding blanket project, I decided to start work on a baby blanket for some friends in Regina who were expecting in early July. I decided this would be the time for this bright baby blanket, and I also decided to make it a 7-colour rainbow (you know, ROYGBIV like a real rainbow).

I also decided to design the pattern to use the number 7 as much as possible. I'd been considering this kind of design for a while, ever since I'd heard of Christian prayer shawl patterns that used the number 3 over and over (for the Father, Son and Holy Spirit), and also of Wiccan patterns that also used the number 3, but in this case it was for the 3 aspects of the goddess - maiden, mother and crone. Apparently in both cases the working of the design then becomes a type of prayer or meditation.

I was intrigued by this idea, and wanted to try something in 7s, partly for the 7 principles of Unitarian Universalism, which I belong to. These principles are often equated with the 7 colours of the rainbow - here is a simplified summary of them using ROYGBIV:

R - Respect All People
O - Offer kind and fair treatment to all
Y - Yearn to Accept and Learn About Ourselves and Others
G - Grow by Exploring What is True and Right
B - Believe in our Ideas and Act on Them
I - Insist on Freedom, Justice, and Peace for all People
V - Value our home, Earth, that we share with all living beings

Also, since reading and watching the Game of Thrones series (which I am listening to again on audiobook this summer as I craft), where the mainstream religion has 7 gods (mother, maiden, crone, father, smith, warrior, stranger), the number 7 comes up over and over again, and rainbows are used to represent this faith. Children born to families who worship the Seven are said to be "Named in the light of the Seven". Plus, their peace banners are rainbow-striped - isn't that cool?

So I figured this 7 colour blanket would appeal to Game of Thrones fans and Unitarians alike, plus anyone who likes the scientific accuracy of having all the colours of a real rainbow.

Anyway, enough background...

Usually my zigzag baby blankets are made with 6 stitches on each side of a point, so for this blanket made in 7s, I added a stitch to each section. I also made sure that the bottom edge had 7 points. Usually the width of the stripes on my blankets varies, (I think I have used 5  or 6 rows per stripe in the past for rainbows) so of course I increased that to 7, as well as adding an indigo-coloured yarn.

I actually started this blanket while in Germany for my friend's wedding, but it got set aside during the craziness at the end of the school year. I picked it up again at the end of June and was hoping to get it finished before we left for Ontario for the summer, since our friends' baby would be born in early July.

As soon as I had worked through one set of the 7 colours, I realized that this blanket would have different dimensions than usual. In order to fit in two repeats of the rainbow pattern it would be longer than usual, but the same width.

Wow, you're really helping me take pictures of the blanket Nikko... good thing you're cute!
I didn't get it finished before we left, but I finally completed it in the first week that we were out east, and shipped it back to Regina. I think it turned out pretty well, though next time I would make it wider to make it seem less long and skinny. I can do this while still maintaining the pattern of 7s by counting 7 tops of points (at the purple end), instead of 7 bottom points (the red end) See, if you count in this picture there are 7 points at the red end but only 6 at the purple end - next time I would make it 8 at the red end and 7 at the purple end). The indigo is also a lot darker than the other colours, so I might also look for a shade in a similar yarn that would blend more smoothly.

Sorry for the poor lighting, this was taken inside

Outside, with a Muskoka chair for scale


When I get a picture of the new little guy with this blanket, I will post it here as an edit.


Treehouse Boutique Inventory

This summer I heard of a little shop that just opened in North Bay Ontario, called Treehouse Boutique, that specializes in showcasing work by Canadian artisans.
http://www.treehouse-boutique.ca
When I first heard about it through Handmade Saskatchewan in June, I considered getting involved, but I was so busy that I didn't have time to think much about it, beyond "liking" their Facebook page. Then in early July the owner started asking about artists who made things other than jewelry (I guess her store was mostly jewelry at that point), so I contacted her, and right away she seemed very interested. She was intrigued by the laptop cases but since there are so many different sizes of laptops, it seemed impractical. We decided to start with some phone cases, and some baby booties.

When we had this conversation I was visiting some friends who live on Lake Huron, so I didn't have access to my usual craft stores. I tried the cute little local yarn shop in town called Docknits, and I was able to find some nice colours of "superwash" wool sock yarn (for the phone cases), for a reasonable price.

A couple of days later we left for Miami because Deep had an academic conference to attend there, and I was tagging along for the cheap(ish) trip to Florida. I had a great time working on 3 different sizes of phone cases (iPhone 4/4S, iPhone 5, and Blackberry curve) during all the talks, and while out with friends for meals and drinks.
Crochet makes academic talks so much more interesting... 
Crocheting while at a fancy cocktail bar with some friends!
Once back from Miami, I needed to organize all the items to send to Treehouse, and I had to attach tags with item names, codes, and prices. Pricing things was interesting - I needed to increase the prices compared to my Etsy store because due to the consignment model Treehouse uses, the artist (that's me!) gets 55% of the shop price, so in order to cover my materials and shipping costs, and to pay for my time, the shop price has to be higher. Hopefully the increased exposure in the shop will make all this worth it!

I had a hard time finding tags at first (couldn't find anything at Staples, and at Michaels a small package was quite expensive and no choice of paper colour or type). Then I discovered a punch at Michaels that I could use to cut out my own tags out of any paper. It was pricier for the few tags I needed at this point, but I knew that over time it would be cheaper as well as much more flexible.

At this point I had a nice collection of phone cases in the 3 sizes and 4 colour combinations.


I had also just made a set of solid-colour baby booties to add to my Etsy store, so I decided to send those along too.


Here are all the items all ready to go to the shop, just in time for a festival in North Bay at the beginning of August.

Wish me luck and good sales in this new shop :)

Keep crafting!

Sunday, 30 December 2012

By Request: Converse-Style Rainbow Baby Booties

I've just completed my first order by request - and here they are! Converse-style rainbow baby booties!


When I recently posted my "Rainbow Collection" of items (with the tag line "Kick the Pink and Blue Habit - Give Baby a Rainbow!) on my Facebook shop page, a friend immediately suggested some brightly rainbow coloured items, to add to the pastel rainbow items I already had.

I thought this was a great idea, and one I've been wanting to explore, so I picked up several skeins of nice and soft, brightly coloured yarn at a nearby store while visiting my in-laws for the holidays. I was itching to make something with these gorgeous colours – the colours are so juicy and luscious I could eat them! – but I didn't know what to start with.

So of course, it was time to use the power of Facebook. I posted a call for requests for my first bright-rainbow items, and within an hour I had a request, (from the same friend who requested the bright colours in the first place),  for "rainbow baby booties! with a white star on the side (like where the converse spot goes)" - AND an offer to buy the first pair! This is my first custom order so I was very excited, and I wanted to get working on them right away.

First I looked up a baby shoe size chart, since she requested a 0-6 months size:


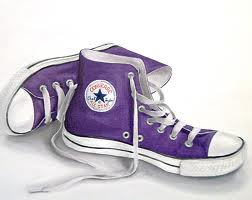
Then I did some Google-image search reconnaissance to remind myself of the key elements of the Converse style - white soles, white cap-toe, white laces, and a white circle/star on the side. Seems totally doable! 


I worked up some white soles from my baby bootie pattern, and checked the size against the chart. Then I started altering my pattern to create the cap-toe effect. The first pair I made the toe was too large, so I started over. I didn't have any white in the same yarn as the rainbow stripes, so I used some Xmas yarn that has a silver thread in it, which produced a sparkly effect. When is it ever a problem to have a little extra sparkle? I did pick up some plain white yarn, so the next pair I make probably won't have the sparkle.

I tried crocheting a star to stick on the side, but I couldn't make one small enough with the yarn I had, so I embroidered one instead. The first attempt (which I made on the shoe with the extra large toe, to practise on), was a bit bulky using white yarn, so I tried embroidery floss and a regular sewing needle instead of a yarn needle to give me a bit more precision, which was a major improvement. Looking at the star it felt unfinished without the circle, so I added a circle around the star, and yup, that was the look I was going for! 


Finally, I added the little embroidered laces, and the effect was complete! Here they are!


I was visiting some friends while I was working on these, and they recognized without me telling them that they were Converse style, so I count that as a win! 

I've now let my friend know that they're ready, and I posted the item in my store so she can order them, and I can get my first sale in the Etsy shop.


Keep crafting!


Tuesday, 18 December 2012

Introducing: The Star Blanket


One of my close friends that I grew up with just had her second baby on Friday. I had made her son a blanket (the first one I'd ever made – see it here), so when I heard she was expecting again, I knew I had to make a special blanket for her daughter as well.

I've had lots of success with my zigzag blankets, but I was wanting to branch out and try something new for a while, and I thought this would be a good time. I've had a pattern for a star shaped blanket for over a year now, and it was burning a hole in my project bag. Finally I was going to get to try it out!

As soon as we arrived in Regina after our cross-continent trek, I was itching to get started on this lovely star blanket. The problem though, was that most of my yarn – including all of the baby yarn I wanted to use for this project – was still packed in a box, that that box was on a moving truck somewhere between Ontario and Saskatchewan... and it was taking forever to arrive!

So for the first two weeks we lived here, I had to content myself with the super-secret project I was working on, which was the only project (besides the little critters), that I had brought yarn for. But I was running out of time to get this star blanket made and sent off to my friend before the baby arrived, and I was running out of the yarn I had brought with me!

Finally, two weeks to the day after we arrived, the truck came, at 8:45 pm! Since we're planning to move to our new house early in the new year, most of the boxes stayed packed, or at least mostly packed. One of the first things I dug out of the boxes though, (thank goodness we made a spreadsheet listing the contents of the boxes) was my stash of baby yarn in all different colours!

I agonized a bit about a colour scheme. I was pretty sure I wanted to do another rainbow, but I wasn't sure how many rows the blanket would turn out to be when I was happy with the size, and I didn't have the same amount of each colour, so I wanted to make sure I would be using them up in a logical way, while still staying in rainbow order (seeing rainbow colours in the wrong order drives me crazy!) I eventually decided to start with blue at the centre, then purple before starting the sequence over with pink.


Here are some shots of the blanket along the way:

After one evening's work - already looks like a star


This design was very gratifying, especially at first - I got all the way from blue to yellow (as seen in the first shot above) in one evening – ah double crochet I love how you work up so quickly! And oh yeah, those centre rounds are really short (that's probably more relevant than it being dc...). Of course after that each row started to take noticeably longer to finish, but I was tight for time (not only did I have to finish it asap so I could get in in the mail to ship across the country before her mid-December due date, but I also couldn't work on any Christmas presents until this was finished!) so I took this project with me everywhere. And I mean everywhere.

I even worked on it when we were at a live show where our friends' band Jesse and the Dandelions was playing! Here's proof – I'm sitting at one of the few booths in the venue (almost everyone had to stand), surrounded by flashing lights and smoke from a smoke machine, and yup, I'm crocheting! I sure know how to have fun!


I had a couple of issues with the pattern. It was a bit hard to tell where the middle of the row on each side was, (where the decreases had to happen for the inward points) – but I didn't realize this at first so I wasn't as careful as I should have been... which led to ripping it out and redoing it in some cases, and making adjustments in later rows in other less severe cases. I'm sure no one but another avid crocheter would even notice now of course, but I was definitely more careful in later rounds!

In the end it measured 37 inches from tip to tip, and had 24 rows, for 12 stripes of colour, for a complete double rainbow (although the sequence began in an unconventional spot). It takes a bit of coaching to get it to lay perfectly flat, though it was easier after I washed it and laid it flat to dry (no real point in properly blocking it since it's acrylic yarn, but lying flat to dry does help).

I'm very pleased with how it turned out, and I will definitely be making more star blankets in the future. Here is the whole thing:


And here are some close-up shots - I love the colours:


I folded it up into a 6-layer pile of points and mailed it across the country, with enough time to arrive before the baby:

Folded up neatly into points

And here are the obligatory shots of the little one with her blanket:


Keep crafting!

PS: you can find this blanket on my Etsy store, here