
I've had lots of success with my zigzag blankets, but I was wanting to branch out and try something new for a while, and I thought this would be a good time. I've had a pattern for a star shaped blanket for over a year now, and it was burning a hole in my project bag. Finally I was going to get to try it out!
As soon as we arrived in Regina after our cross-continent trek, I was itching to get started on this lovely star blanket. The problem though, was that most of my yarn – including all of the baby yarn I wanted to use for this project – was still packed in a box, that that box was on a moving truck somewhere between Ontario and Saskatchewan... and it was taking forever to arrive!
So for the first two weeks we lived here, I had to content myself with the super-secret project I was working on, which was the only project (besides the little critters), that I had brought yarn for. But I was running out of time to get this star blanket made and sent off to my friend before the baby arrived, and I was running out of the yarn I had brought with me!
Finally, two weeks to the day after we arrived, the truck came, at 8:45 pm! Since we're planning to move to our new house early in the new year, most of the boxes stayed packed, or at least mostly packed. One of the first things I dug out of the boxes though, (thank goodness we made a spreadsheet listing the contents of the boxes) was my stash of baby yarn in all different colours!
I agonized a bit about a colour scheme. I was pretty sure I wanted to do another rainbow, but I wasn't sure how many rows the blanket would turn out to be when I was happy with the size, and I didn't have the same amount of each colour, so I wanted to make sure I would be using them up in a logical way, while still staying in rainbow order (seeing rainbow colours in the wrong order drives me crazy!) I eventually decided to start with blue at the centre, then purple before starting the sequence over with pink.
Here are some shots of the blanket along the way:
 |
| After one evening's work - already looks like a star |


This design was very gratifying, especially at first - I got all the way from blue to yellow (as seen in the first shot above) in one evening – ah double crochet I love how you work up so quickly! And oh yeah, those centre rounds are really short (that's probably more relevant than it being dc...). Of course after that each row started to take noticeably longer to finish, but I was tight for time (not only did I have to finish it asap so I could get in in the mail to ship across the country before her mid-December due date, but I also couldn't work on any Christmas presents until this was finished!) so I took this project with me everywhere. And I mean everywhere.
I even worked on it when we were at a live show where our friends' band Jesse and the Dandelions was playing! Here's proof – I'm sitting at one of the few booths in the venue (almost everyone had to stand), surrounded by flashing lights and smoke from a smoke machine, and yup, I'm crocheting! I sure know how to have fun!


I had a couple of issues with the pattern. It was a bit hard to tell where the middle of the row on each side was, (where the decreases had to happen for the inward points) – but I didn't realize this at first so I wasn't as careful as I should have been... which led to ripping it out and redoing it in some cases, and making adjustments in later rows in other less severe cases. I'm sure no one but another avid crocheter would even notice now of course, but I was definitely more careful in later rounds!
In the end it measured 37 inches from tip to tip, and had 24 rows, for 12 stripes of colour, for a complete double rainbow (although the sequence began in an unconventional spot). It takes a bit of coaching to get it to lay perfectly flat, though it was easier after I washed it and laid it flat to dry (no real point in properly blocking it since it's acrylic yarn, but lying flat to dry does help).
I'm very pleased with how it turned out, and I will definitely be making more star blankets in the future. Here is the whole thing:

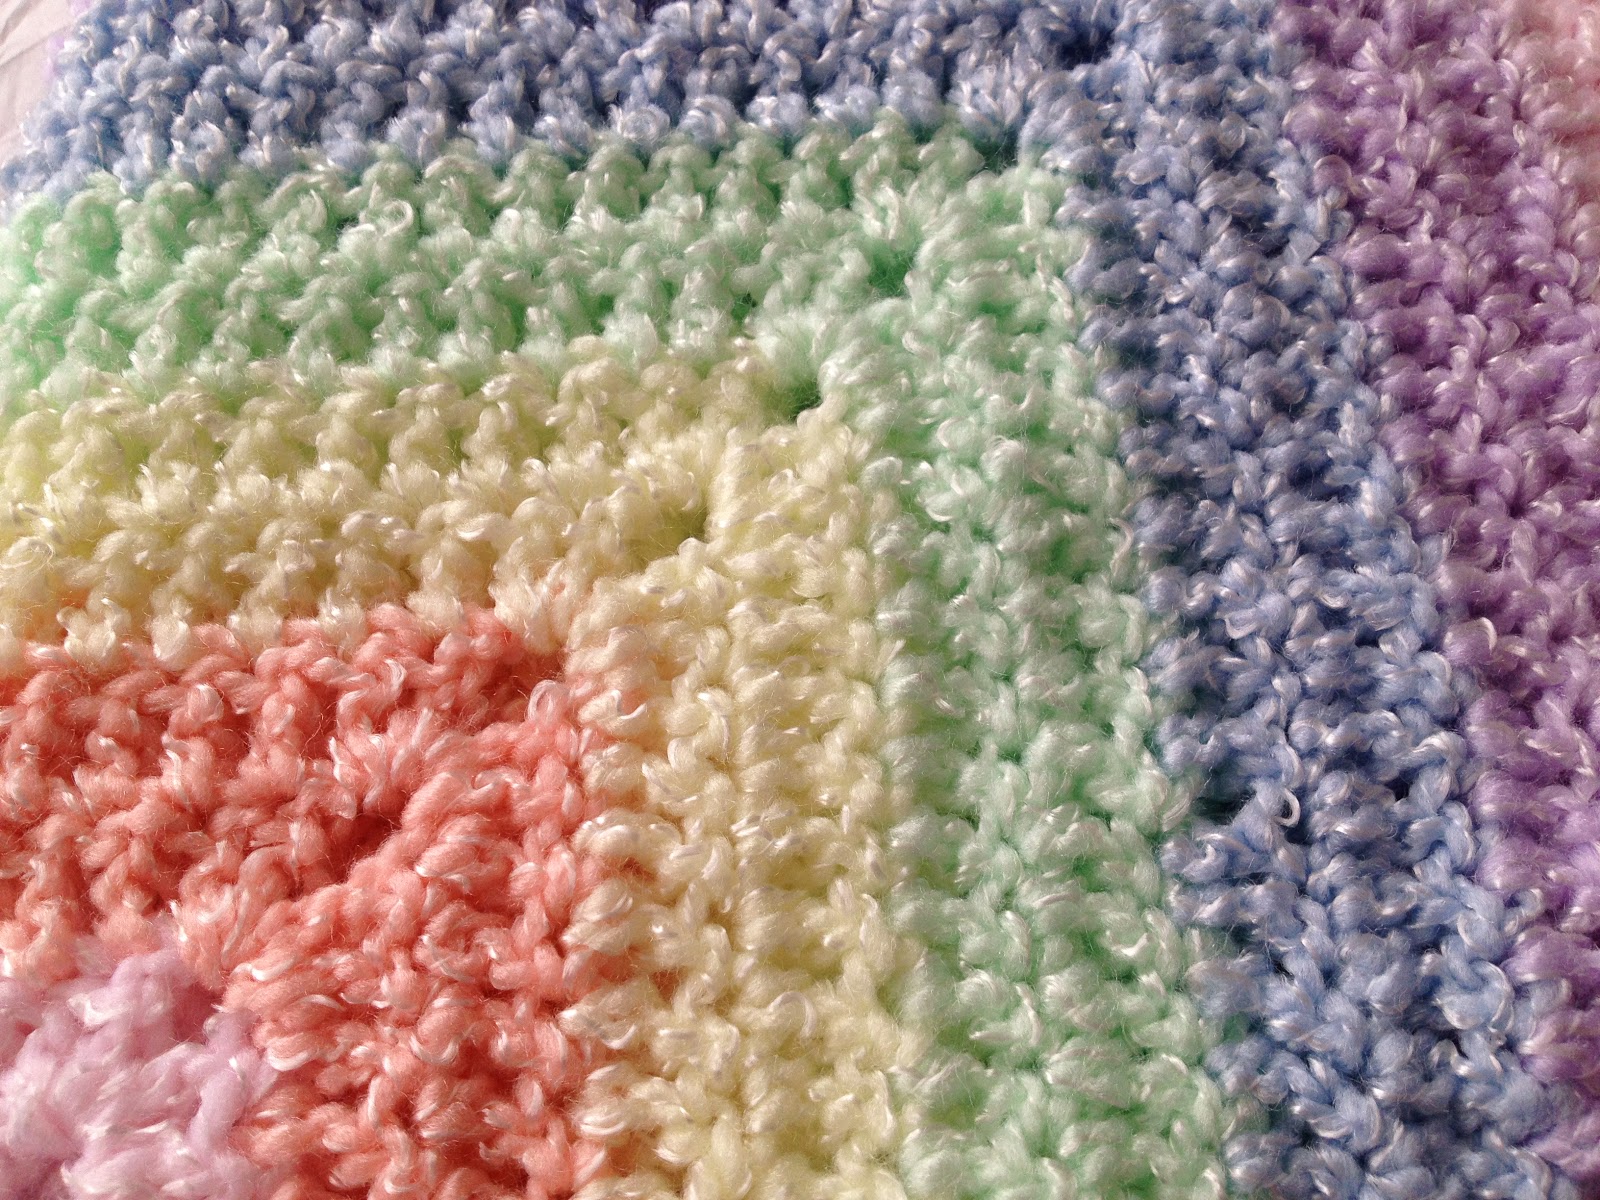
And here are some close-up shots - I love the colours:


I folded it up into a 6-layer pile of points and mailed it across the country, with enough time to arrive before the baby:
 |
| Folded up neatly into points |
And here are the obligatory shots of the little one with her blanket:
Keep crafting!
PS: you can find this blanket on my Etsy store, here
No comments:
Post a Comment