Sunday 1 September 2013

Avoiding Cat's Cradle


Has this ever happened to you? Ok, probably your cat hasn't actually been suspended in mid-air like this, but it sure is true that cats love yarn. It's instinctual I think - they love things that roll (like that neat ball of yarn you just rolled up), they love soft textures, they love things that dangle, and they especially love things that twitch and move as if they're alive! Just like the yarn you're working with as you knit or crochet.


There are certainly times when I've had to stop crocheting because Nikko was in too playful of a mood and would constantly attack my yarn. Luckily though, that's pretty rare. Usually he watches me intently for a while, and gives a half-hearted swat at the dancing strand of yarn, then curls up in my lap or beside me (or on top of whatever I'm working on, of course!) and falls asleep. One of my in-laws' kittens, Cheeky, can be much more of a trouble maker - he will not only attack my yarn, he'll start trying to eat it, so that it gets all slobbery. Yuck! And his claws are much sharper than Nikko's are, so he can really do some damage to the yarn if he digs his claws in.

However, Nikko is not always an angel. About a year ago I decided that my yarn supplies were in terrible shape, and I started rolling up the tangled mess into neat balls of yarn. I came home from work the next day and stopped dead in my tracks. The apartment was covered in yarn! An entire ball had been unraveled around, over, and under every piece of furniture, as you can see here.


I spluttered in frustration, cursing, and Deep, who was sitting on the couch, looked over at me standing by the door looking aghast, and said "What?" He'd been sitting there the whole time, unaware of what my normally sweet kitty was doing to my yarn! And here is the culprit himself, looking very innocent:


So I spent the next 10 minutes crawling around the apartment rolling the yarn back up, which of course Nikko thought was another fun game!

I ranted about this incident to my friends at my stitch group that night, thankful that at least they understood my annoyance.

Then, I came home from work the next day, to find almost exactly the same scene, in a different colour of yarn!

Ok, I know, fool me twice, shame on me. I felt very silly, and so I vowed to find a better storage solution for my yarn and on-the-go projects than just throwing them into my reusable shopping bags.

Below is a list of what I have learned and done to keep my yarn stash and projects organized and useable. Whether you have pets or young children or spend any time around either, or just want to get your chaotic stash in order, these tips may be useful to you too!

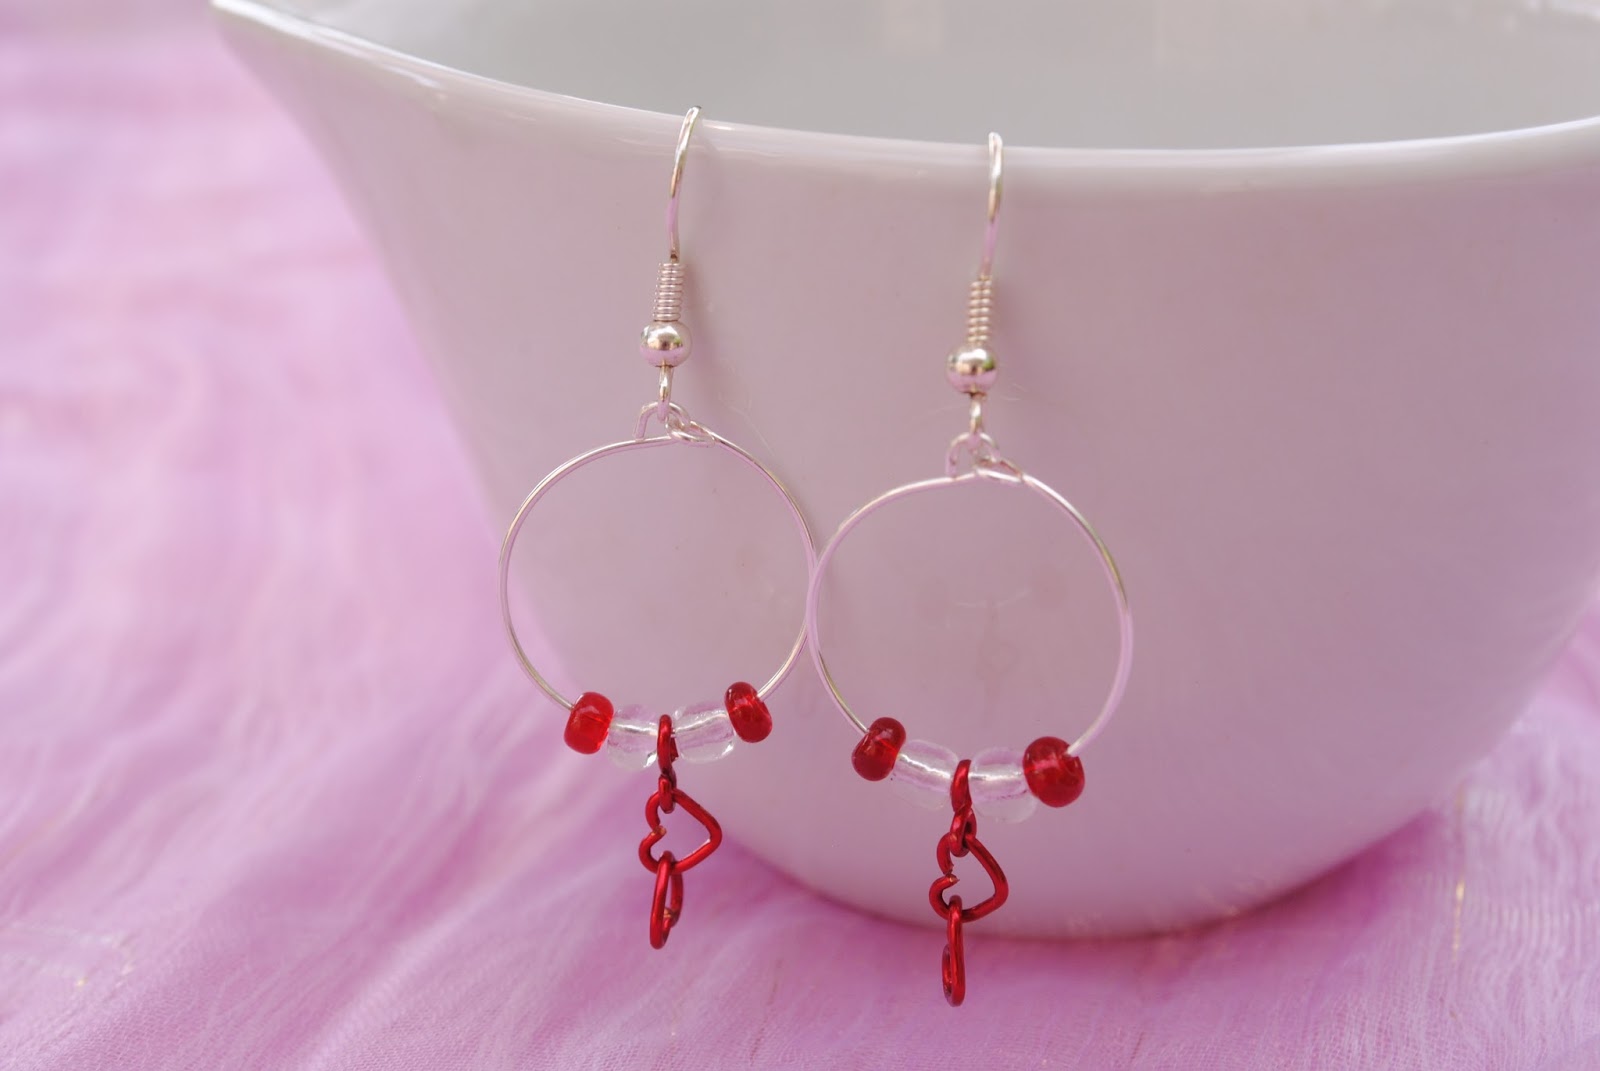
Tip #1: Tie off all balls of yarn - no exceptions!

The first change I made after these incidents was that I now ALWAYS tie off the ends of any yarn I roll up - that way if he gets at my yarn, it can roll around without unravelling into a chaotic mess. I have also found that it helps to keep all of my stashes and projects in much better order - untied balls or skeins of yarn seem to just naturally become messy over time – it's entropy I guess.

Tip #2: Invest in a few cases and bags for your current projects, in different sizes

When this yarn incident occurred, I had recently seen someone knitting next to me during a boring work meeting (of course I was jealous because I hadn't thought to bring my crochet along), with her needles and yarn neatly tucked into a small plastic flexible case that closed with snaps, which she had said she'd picked up at a local dollar store. I thought it was a great idea, and I planned to keep an eye out for something like that, but at the time there wasn't any particular urgency to my search.

Now however, I had a mission! I spent the next week or two combing through every dollar store and bargain/thrift store in the city, looking for something similar.

It took me a surprisingly long time to find what I was looking for. I think it was partly because I was looking for the bag or case itself as a product, rather than something that a product comes in. I wanted a simple case that was clear so I could see what was in it (and easily find the right colour of yarn, or that invaluable tapestry needle), whereas most pencil cases and similar sized bags are opaque.

My first successful finds were a couple of cosmetics cases that work well for medium size products, like this one:

It's a nice size for carrying a couple of smallish projects in, or at least most of the supplies for a medium-size project like a baby blanket. It's also good for projects that require lots of colours, but where the completed portions don't need to be with you at all times, such as blanket squares.


The best part of getting this case was revealed on the the first night I had it: I put several balls of yarn that I was currently using into it, and had it sitting on the coffee table. Nikko came over to investigate, and immediately tried to get at the yarn through the clear side, and then the mesh side - it was hilarious to watch how confused he was, it was as though he had encountered a force field! Since this was only a week or so after he unrolled my yarn all over he apartment, I was extremely pleased to have foiled another attempt! Even if I hadn't closed the zippers, all he could do was reach a paw in and bat at them - he couldn't get the yarn out to make a mess. Triumph was sweet.

I was quite happy with this case, and it was certainly much more portable than the one and only (large) project bag I had before, but I was still hoping to find something really small and portable that I could tuck into my purse and have with me anywhere. I did pick up a smaller cosmetics case as well, but it was still a bit too bulky, and, let's face it, I always have several projects on the go, so several cases would be necessary.

Over the next couple of weeks I kept my eyes open, and I finally found the perfect solution in the "travel sized" section of the local Zellers (a store like K-mart for you Americans) - the bag that this little travel container kit came in. I picked up one in purple, then went back a week or two later for a green one, and more recently I picked up this pink one when the original purple one eventually developed a small hole. It's the perfect size for most small projects, or projects that have small components (amigurumi, phone cases, one blanket square, etc.). It's also lovely that it is clear, so I can quickly check if I've got all the necessary supplies in this particular bag before heading out the door.


It easily fits into my largish purse with plenty of room to spare for wallet etc. And if I pack it just right, I can fit it into my smaller MEC (Mountain Equipment Co-op - a Canadian outdoor outfitting store) purse that I use when travelling. I've been known to take one of these little bags, with a small project in it, pretty much everywhere I go - concerts, meetings, conferences, doctor's appointments, on buses and planes...  

Once I had this revelation about looking for the bags products come in, rather than looking to purchase the bag itself, I started noticing them more frequently. Here is one I got at a dollar store – it also contained little bottles for travel sized shampoo etc. It's the smallest bag I have, and I use it mostly for storing various notions - safety eyes, needles, thread, extra hooks of various sizes, etc. 


A little while later I realized that I needed a larger project bag (but something a bit smaller than the original large project bag that I keep my biggest projects in). In particular for the times when I needed to bring lots of different supplies for one project, such as on road trips etc. I found this bag at the discount yarn/fabric/craft/everything-under-the-sun store that exists only in Ontario, Len's Mill Store. It's a great size for more complex projects, and I like that it has a range of pockets that can be used to keep track of printed pattern pages, scissors, hooks, needles, and any other notions. And as an added bonus, I can actually fit my computer in this bag if necessary (it's an 11 inch, very thin laptop), which can make it easier to keep everything in one place.

Here you can see that I have it mostly filled with many balls of yarn of all the colours required for the big wedding blanket project. This was the bag that I brought with me on the road trip across the country last fall - and it was enough yarn to keep me going for a couple of weeks until the rest of our stuff arrived on the moving truck.


Here you can see me making use of all of my small-to-medium project bags in preparation for visiting family over Xmas. Each bag contains one or more projects (mostly Xmas presents in the making), and the small one at the bottom includes all the assorted notions I needed for various projects. It was a little difficult to fit these all into my luggage, and several went into my carry-on, but it worked out really well, and I never lacked for yarn or supplies!


Tip #3: Invest in a few pairs of safety scissors.

I know, this tip doesn't really have to do with keeping your stash organized and away from pets and small children, but it will make your crafting life easier, so I'll include it anyway.

I don't know about you, but I always want to be able to work on my projects on the plane. Depending on the size and type of your project, that may not require scissors during the plane ride, but it's such a giant pain not to have scissors when you need them, that I try to be prepared anyway. I have picked up a few pairs of rounded "safety scissors" from dollar stores or wherever else I see them, and I always keep one in each of my different project bags. That way no matter where I am, and which project I'm working on, I always have a pair of scissors with me. And I can easily throw any project bag into my carry on, and know that I shouldn't get hassled at security.

Word to the wise: always be pre-emptive about bringing out the scissors and asking about them in a non-threatening way – and make it clear that you're happy to surrender them if necessary. To date I haven't had anyone take issue with these scissors, but the one time I forgot to get them out of my backpack it did slow things down as they had to pull me aside and dig them out and take a look. I think the rule is that the blade has to be under a certain length, and they can't have pointed tips, and safety scissors seem to always meet these criteria. Plus, they cost me about $2 so if they take them away, I'm not going to cry about it.

Plus - I recently found these amazing animal scissors at the dollar store - aren't they awesome?! They make me happy every time I use them.


Tip #4: Don't Slip into Bad Habits

Two nights ago, when I had 95% of this post written, I came home to find this unfortunately familiar sight in my living room:


Earlier that day I had been rolling up a skein of yarn into small balls so that they would be easy to tuck into my project bags, and I had gone out for the evening before putting the yarn away.  I had to laugh at myself. I obviously should have known better, but I had become sloppy, and my helpful cat reminded me of the consequences.


That's all for now, keep crafting!

Friday 30 August 2013

Summer 2013 Update: August

It's almost the end of August and we have just arrived back in Regina from our summer in Ontario - besides the Graceful Mandala and changing the name and logo for the shop, what have I been up to this month?

Jewelry

As mentioned in this post, I have been planning for a while now to expand the items in my shop beyond just crochet, to include wire and glass jewelry. So when I was packing for this trip I made sure to grab my wire jewelry tools and supplies. Unfortunately I forgot some of the supplies, so I was limited in what I could create during the trip. I made a few pairs of earrings, and a bracelet. I spent a couple of mornings taking nice photos of the new pieces, and posted the new Etsy items just before I changed my shop name.

Earth Tone Drop Earrings
Earth Tone Dangling Hoop Earrings
Northern Lights Bracelet
Split Prism Rainbow Drop Earrings
Sweetheart Drop Earrings
Sweetheart Dangling Hoop Earrings
Violet Orb Drop Earrings

The jewelry selection still feels pretty sparse and I will definitely want to add some more items now that I am back home, but it's a start for now. I'm also planning to order some coloured stainless steel wire (it's much stronger and more durable than copper), and I may also branch out into silver wire and semi-precious stones. I'm looking forward to working on this more over the next couple of weeks now that we're home in Regina.

Rainbow Converse Booties - A Pattern and a Colour Variation

This month I finally finished writing up my pattern for the Rainbow Converse booties. I was really impressed with Etsy's new instant download system for PDFs when I posted the Golf Club Covers earlier this summer, so I wanted to do the same for my converse booties pattern.

I've actually had the pattern mostly written up for a long time, but I knew there were several tricky parts where a picture would be much more helpful than a written description. So I wanted to include lots of pictures - after fighting with formatting in Word, I ended up with over 30 pictures embedded in the pattern. I also included a text-only version of the pattern for those who might want to print out just one or two pages, or display it on their phone or tablet. It sure took a long time (and quite a few fits of swearing) to get the formatting to work right, but I'm really happy with how it turned out.

Pattern available in my Esty Store now
I have also finally gotten around to making an inverted colour variant of these booties - with the red at the top instead of the bottom. This is usually the way I prefer to see and make rainbows, and I'm really not sure why I made the original booties the opposite way around. Here are the two versions (original on the right, new on the left) - I can't decided which I like better. What do you think? In any case, both versions are available in my shop!

These little guys still need their stars and laces...

Coffee Cup Cozies

At one point during this trip we stopped to get coffee at a local coffee shop, and I noticed that even when using one of those little cardboard bands around my cup, my London Fog (a delicious tea latte made with Earl Grey tea and vanilla, for those of you who haven't tried this magical beverage) was still almost too hot to hold. This got me thinking that a crocheted coffee cup cozy would be much more effective - plus it would be reusable, and stylish!

Later that day at the beach I started a prototype. I started with a chain that I joined into a circle, and did continuous rounds of single crochet (double crochet would have been too loose and wouldn't protect the hands as much I think...), adding a few increases every few rounds to make it slightly wider at the top. This first prototype was about the same height as those cardboard tubes in the store. Later when I went to make the second one, in a different colour, I decided to try making it taller so it would be more comfortable to hold. Here is the comparison of the first two versions:


I asked my Facebook fans about which they liked better and the consensus seemed to be the taller one (as I suspected), so I kept that size for the rest of the colours. I had to pick up a few more types of sock yarn to make a nice selection, plus, I knew I wouldn't have Len's Mill Store once we got back to Regina - I had to take advantage of their selection and prices while I could! Each colour is a slightly different weight and stretchy-ness of course so I had to keep checking each new colour against the finished ones, and testing it out on a trusty Tim's cup.

I also played around a little bit with an adjustable model of the coffee cup cosies, for use on mugs with handles and strangely sized mugs... I will probably come back to this idea later. For now I like this simple one-size-fits-all model. Here are the colour combinations I have made so far, all available in the shop:

All the colours
Blue Moon
Garden Flowers
Creamsicle 
Light Rainbow
Dark Rainbow
Purple Iris
Green with Envy

Square Blanket Progress

I have continued to work on the knitted square blanket from this post, though it's been out on the back burner during these other projects. I just finished the second piece - doesn't it look nice so far?.


Ah well, it's not for the shop or a gift, it's just for me, so I think it's fine to leave on the back burner for a while. I will probably be more motivated to work on it once it's a bit chillier. I'm sure the ladies at my Saturday stitch group will be happy to see me knitting for once (I'm in the minority as a crocheter) - plus they can help save me when I inevitably mess it up again!

Alpaca Birthday Sweater

Another project that I brought with me this summer is a lovely pattern made in amazing baby Alpaca yarn that my in-laws gave me for my birthday last year (that would be September 2012 for those keeping track). I didn't get a chance to start working on this sweater until Xmas time last year, and it has been a sort of in-between project: something that is easy to pick up at any time, and fits nicely in a small project bag so it's easy to keep with me, but it hasn't gotten any concentrated attention from me to this point.

It's been the same on this trip - I've worked on it from time to time, but I haven't focused on it at all. I put a stitch marker in at the start of this trip, and now, when we've just arrived home, you can see that I've certainly made some progress, but not a lot.

In my defence it is very fine yarn and a 3.00mm hook, all in single crochet, so it does take forever to do each round. I will need to get going on this soon though, if I want to wear it this winter! I promise a more thorough post about this project and pattern when it's closer to completion.


That's it for now, keep crafting!

Wednesday 28 August 2013

Summer 2013 Update: July

(Note: this post was written at the end of July, I'm just late posting it...)

Recently I've been catching up on blog posts about projects from the last few months plus a couple of recent posts - but you may be wondering what I've been up to since the school year ended.

Well I sure haven't been idle on the crafting front! Here is a quick update on some of my recent projects, besides the knitting project that I've already posted about.

Once I finished the golf club covers for my Dad, I realized that I was running out of time before our summer road trip to Ontario, so I had to get organized about what to bring with me, and what to finish before I left. Here's some of what I've been working on (besides the knitted blanket which you've already heard about).


"Named in the Light of the Seven" - Bright Rainbow Blanket

Ever since I picked up the bright rainbow yarn in December, I have been wanting to make a bright rainbow baby blanket. So once I was done the massive wedding blanket project, I decided to start work on a baby blanket for some friends in Regina who were expecting in early July. I decided this would be the time for this bright baby blanket, and I also decided to make it a 7-colour rainbow (you know, ROYGBIV like a real rainbow).

I also decided to design the pattern to use the number 7 as much as possible. I'd been considering this kind of design for a while, ever since I'd heard of Christian prayer shawl patterns that used the number 3 over and over (for the Father, Son and Holy Spirit), and also of Wiccan patterns that also used the number 3, but in this case it was for the 3 aspects of the goddess - maiden, mother and crone. Apparently in both cases the working of the design then becomes a type of prayer or meditation.

I was intrigued by this idea, and wanted to try something in 7s, partly for the 7 principles of Unitarian Universalism, which I belong to. These principles are often equated with the 7 colours of the rainbow - here is a simplified summary of them using ROYGBIV:

R - Respect All People
O - Offer kind and fair treatment to all
Y - Yearn to Accept and Learn About Ourselves and Others
G - Grow by Exploring What is True and Right
B - Believe in our Ideas and Act on Them
I - Insist on Freedom, Justice, and Peace for all People
V - Value our home, Earth, that we share with all living beings

Also, since reading and watching the Game of Thrones series (which I am listening to again on audiobook this summer as I craft), where the mainstream religion has 7 gods (mother, maiden, crone, father, smith, warrior, stranger), the number 7 comes up over and over again, and rainbows are used to represent this faith. Children born to families who worship the Seven are said to be "Named in the light of the Seven". Plus, their peace banners are rainbow-striped - isn't that cool?

So I figured this 7 colour blanket would appeal to Game of Thrones fans and Unitarians alike, plus anyone who likes the scientific accuracy of having all the colours of a real rainbow.

Anyway, enough background...

Usually my zigzag baby blankets are made with 6 stitches on each side of a point, so for this blanket made in 7s, I added a stitch to each section. I also made sure that the bottom edge had 7 points. Usually the width of the stripes on my blankets varies, (I think I have used 5  or 6 rows per stripe in the past for rainbows) so of course I increased that to 7, as well as adding an indigo-coloured yarn.

I actually started this blanket while in Germany for my friend's wedding, but it got set aside during the craziness at the end of the school year. I picked it up again at the end of June and was hoping to get it finished before we left for Ontario for the summer, since our friends' baby would be born in early July.

As soon as I had worked through one set of the 7 colours, I realized that this blanket would have different dimensions than usual. In order to fit in two repeats of the rainbow pattern it would be longer than usual, but the same width.

Wow, you're really helping me take pictures of the blanket Nikko... good thing you're cute!
I didn't get it finished before we left, but I finally completed it in the first week that we were out east, and shipped it back to Regina. I think it turned out pretty well, though next time I would make it wider to make it seem less long and skinny. I can do this while still maintaining the pattern of 7s by counting 7 tops of points (at the purple end), instead of 7 bottom points (the red end) See, if you count in this picture there are 7 points at the red end but only 6 at the purple end - next time I would make it 8 at the red end and 7 at the purple end). The indigo is also a lot darker than the other colours, so I might also look for a shade in a similar yarn that would blend more smoothly.

Sorry for the poor lighting, this was taken inside

Outside, with a Muskoka chair for scale


When I get a picture of the new little guy with this blanket, I will post it here as an edit.


Treehouse Boutique Inventory

This summer I heard of a little shop that just opened in North Bay Ontario, called Treehouse Boutique, that specializes in showcasing work by Canadian artisans.
http://www.treehouse-boutique.ca
When I first heard about it through Handmade Saskatchewan in June, I considered getting involved, but I was so busy that I didn't have time to think much about it, beyond "liking" their Facebook page. Then in early July the owner started asking about artists who made things other than jewelry (I guess her store was mostly jewelry at that point), so I contacted her, and right away she seemed very interested. She was intrigued by the laptop cases but since there are so many different sizes of laptops, it seemed impractical. We decided to start with some phone cases, and some baby booties.

When we had this conversation I was visiting some friends who live on Lake Huron, so I didn't have access to my usual craft stores. I tried the cute little local yarn shop in town called Docknits, and I was able to find some nice colours of "superwash" wool sock yarn (for the phone cases), for a reasonable price.

A couple of days later we left for Miami because Deep had an academic conference to attend there, and I was tagging along for the cheap(ish) trip to Florida. I had a great time working on 3 different sizes of phone cases (iPhone 4/4S, iPhone 5, and Blackberry curve) during all the talks, and while out with friends for meals and drinks.
Crochet makes academic talks so much more interesting... 
Crocheting while at a fancy cocktail bar with some friends!
Once back from Miami, I needed to organize all the items to send to Treehouse, and I had to attach tags with item names, codes, and prices. Pricing things was interesting - I needed to increase the prices compared to my Etsy store because due to the consignment model Treehouse uses, the artist (that's me!) gets 55% of the shop price, so in order to cover my materials and shipping costs, and to pay for my time, the shop price has to be higher. Hopefully the increased exposure in the shop will make all this worth it!

I had a hard time finding tags at first (couldn't find anything at Staples, and at Michaels a small package was quite expensive and no choice of paper colour or type). Then I discovered a punch at Michaels that I could use to cut out my own tags out of any paper. It was pricier for the few tags I needed at this point, but I knew that over time it would be cheaper as well as much more flexible.

At this point I had a nice collection of phone cases in the 3 sizes and 4 colour combinations.


I had also just made a set of solid-colour baby booties to add to my Etsy store, so I decided to send those along too.


Here are all the items all ready to go to the shop, just in time for a festival in North Bay at the beginning of August.

Wish me luck and good sales in this new shop :)

Keep crafting!

Thursday 15 August 2013

A Shop by Any Other Name...

Now that I have changed my shop name and posted these new banners and the new logo, I can post this story behind the name and logo change - as well as my tips for others planning the same thing.

Several months ago I decided that I wanted to change the name of my Etsy shop to something more general, since I wanted to expand my products beyond just crochet. In particular, I wanted to add wire jewelry and these glass stones that have pictures or words embedded in them.

I started trying to come up with names that would be both original and meaningfully connected to me. I came up with a few, mostly inspired by my field work with hummingbirds a few years ago. Once I had some ideas, I posted on my Facebook page to see what others thought, and I got a few suggestions (one of my friends added Dream Nest to my original poll, and clearly it took off):


I decided that my friends and family were onto something with Dream Nest and decided to start working on logo ideas - and then I got a full time teaching job! For the next few months it was all I could do to keep up with the few orders that came in, and I even had to put my shop on Holiday mode to keep from being overwhelmed. Once summer rolled around I decided to finally get working on this transition to a new name. I started working on some new items in the wire and glass categories, and returned to thinking about a logo.

Back in January I was thinking about using a photograph or a real wire and yarn nest as the basis for my logo, but the reality of making such a nest was much harder than I had imagined, so now I decided to give in an have a graphic designer make me a proper logo. I searched etsy for a likely designer, and found one (StyleGraphicDesign) who would do all the design work first and then only charge when the logo is ready and the customer is happy with it. All at a reasonable price of about $50.

I described what I wanted:

"I'm thinking of a bird's nest, ideally made to look like it's made with wire (silver or coloured) and yarn with round pieces/balls of glass embedded, if that doesn't look too busy. Not sure if I want a bird to be near the nest or not... maybe. If so, it should be a hummingbird in rusty red with a white breast patch (I used to study rufous hummingbirds) - or the silhouette of a hummingbird is probably easier. "

and over a couple of days of back and forth, I was quite pleased with the logo, and went for it. Here is the finished product - nice huh?


There's always a catch...

If you've been following my blog I'm sure you are well aware that nothing ever goes exactly as planned for me, so of course there was a minor hang-up.... I had forgotten to Google the name before finalizing the logo! (In my defence I really thought I had done this back in January... Now I realize that I had searched for the name on Etsy, but not on the rest of the web!) Turns out that if you google "dream nest" or "the dream nest" you get a bunch of real-estate related hits! I guess that makes sense, now that I think of it, but it hadn't occurred to me before. I also tried "dreamy nest" which came up with something called "dreamy nest designs" - clearly I couldn't use this name without confusing my customers and getting folks lost along the way!

If I had only done this crucial google search before finalizing my logo order, it would have been no big deal, just one more edit in the consultation process. But since it was already finalized, I had to request a change to the finished logo, which cost me another $20 - a stupidity tax I guess!
After some more careful web searching and double checking on Etsy, I decided on Dream Nest Creations, which yields much less confusing search results, and is actually more descriptive. I requested the name change from the graphic designer, and after one more round of drafts and feedback, I finally had the logo I had been looking for! I am actually happier with it than with the original, so I guess it was all for the best. Sure is annoying when life catches up with you and gives you a smack upside the head for being silly though!

Next on my to do list before unveiling the new logo and officially changing the name was to make myself some banners and profile pictures for Etsy and Facebook, and all that good stuff. With such a lovely logo to start with, this should be easy, right?

Back when I made my first Etsy banner, I found this post on the Etsy forums about making an Etsy banner with Powerpoint. This appealed to me because I have actually used Powerpoint for formatting and creating layouts that combine images and text before - this is how most academics make their posters for conferences, which I've done three times now, and I've also used it to make snazzy photo collages as well. That's how I made this first Etsy Banner - looks not too bad for a program almost everyone has, huh?


So I tried to do the same process again for the new banner with the shop name and logo - and I realized that no matter what I did, the text came out looking quite bad - look at how pixellated it is!


Actually... I guess it doesn't look that bad here... but at normal size it does look really pixellated, and that was NOT how I wanted to debut my new shop name! Especially after I had spent so much time finding and downloading new fonts so it would look just right.

After some fighting with GIMP (a piece of image editing software I already have, but as it turns out it is not at all intuitive to use), then some Google searches and finally some discussions with some much more graphic-design-savvy friends, someone (thanks Ryan!) suggested that I try a fairly simple editing software tool called Acorn, which has a 14 day free trial, and is WAY more reasonably priced than Photoshop if I end up deciding to buy it in the end.

I downloaded the software one morning, by the end of the same day I had made several versions of a banner that I am much happier with, as well as a Facebook cover photo, profile picture, and an ad for the Handmade Saskatchewan blog. It is actually really nice to use, and I am loving the results. I'm certainly making the most of my free trial, and I may actually break down and buy it when the trial is up.

My new Etsy banner

My new Facebook profile picture

So, after this whole ordeal, I have the following tips to share with the Etsy/Online Shop community:

1 - Google your shop name! Even if you think you did before, make sure you try it again before you finalize a logo!

2 - Ask a nice graphic designer on Etsy to make you a lovely logo. You should be able to get one for about $50, and try to find someone who will do the design and feedback process before you buy. I used StyleGraphicDesign.

3 - Get some cool original fonts rather than using the basic ones everyone has - it will help you stand out. I recommend Google fonts. Plus I love their new preview sentence that includes all the letters of the alphabet: "Grumpy wizards make toxic brew for the evil Queen and Jack" - isn't that way more fun than the old one about a lazy dog and a fox? Once you've downloaded the fonts you will need to install them to be able to use them -

4 - Ask a couple of helpful friends to give you feedback on the fonts and layout - It's hard to be impartial and to choose between all the different versions you have come up with. My friends' feedback has been invaluable.

5 - Choose your editing program - If you have InDesign or PhotoShop and know how to use them, then by all means, use one of them. For the rest of us, I suggest trying Powerpoint (see the tutorial here - but make sure to read at least the first 3 posts as there is a correction), but if it doesn't produce the results you are looking for (text tends to be blurry or pixellated) then I suggest downloading the free trial of Acorn and see how you like it.

I hope this is helpful to some of you out there.

Keep crafting!

PS: If you haven't seen my new shop name in action, you can visit it now - plus for the next month everything in the shop is 10% off - just use the coupon code NEWNAME1